Windows 10 tip: How to capture and print Windows 10 screen

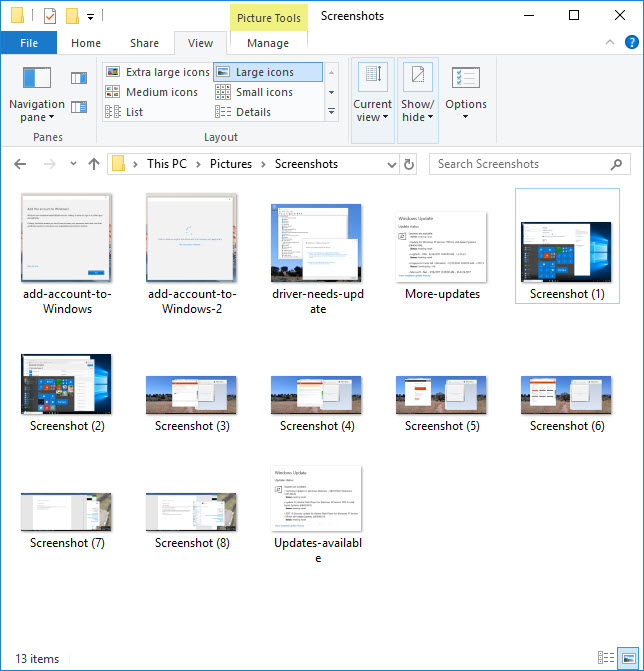
It helps to replace the generic Screenshot (x) name with something more descriptive.
There are all sorts of good reasons to capture all or part of what's on your PC's screen. Perhaps you want to share something interesting on social media or save evidence of something objectionable. Maybe you want to save an online form before you hit the Send button, or document a series of steps.
Whatever the reason, Windows 10 gives you multiple ways to accomplish this task. Which one you choose depends on what you plan to do with the capture.
Instantly save everything on the screen
Pressing the Windows key + PrtScn immediately saves the full contents of the current display (or displays, if you have configured multiple monitors). The resulting image files are saved in PNG format in the Pictures\Screenshots folder in your user profile, with file names automatically assigned using sequential numbers.
You'll know you were successful if you see a momentary dimming of the screen after pressing that key combination.
Note: On some portable PCs, you might be able to snap a screenshot by pressing the Windows key + Spacebar shortcut. On Surface devices, this feature requires that you hold down the Fn key as you press Windows key + Spacebar.
Copy all or part of the screen to the Clipboard
Two classic keyboard shortcuts, PrtScn and Alt+PrtScn, copy the full screen or the current window, respectively, to the Clipboard. You can paste that ephemeral capture into a Word document or an image editor to save it for posterity.
Another new shortcut in Windows 10, Windows key + Shift + S, allows you to select a rectangular region of the screen and copy it to the Clipboard. When you press that key combination, the screen dims and the mouse pointer turns to a crosshair.
Click to set any corner of the region you want to capture, and then drag to the opposite corner. (A thin red line indicates the region you've selected.) Release the mouse button to finish the capture.
Use the Snipping Tool
And, of course, the familiar Snipping Tool app (SnippingTool.exe) is also available in Windows 10, offering free-form, rectangular, window, or full-screen captures with the option to save the results as a file or copy to the Clipboard.
Choose which type of screenshot you want to take from the Mode menu, and then click New to begin your capture.
PREVIOUS AND RELATED CONTENT
Ed Bott's extensive collection of Windows 10 tips, organized by category.
Windows 10 setup and configuration tips: Don't settle for default settings
Ed Bott's extensive collection of Windows 10 tips has been freshly updated for the Fall Creators Update. This page includes the most popular tips for getting Windows 10 configured exactly the way you want it.
Windows 10 productivity tips: Making everyday tasks easier
This page includes the most popular tips for working smarter.
Windows 10 performance and troubleshooting tips: Run faster, smoother, longer
The most popular tips for performance and troubleshooting.
Windows 10 networking and security tips
This page includes tips for configuring networks and managing security settings.